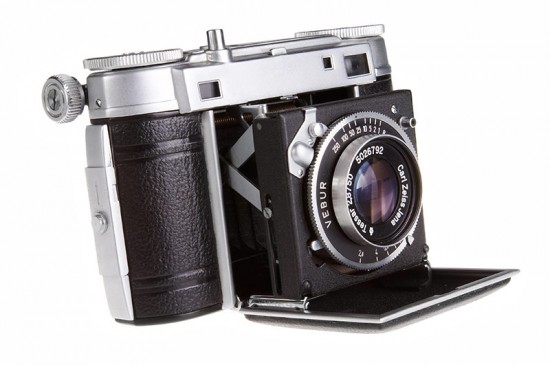
Photographing objects on pure white background
There are many reasons why you would want to shoot something on a pure white background. Product shots for a catalog or for selling on eBay just look better that way. Another reason is stock photography where the editor will want to take the image and place it over a different background easily.
Despite any tutorials you have seen that explain how “easy” this is to do on the computer, it is anything but. It takes a lot of experience, an expensive plug-in, or a lot of slow, tedious work – or all three. Like most anything else related to photography, it is always best to get it right in the camera and avoid post-processing.
First, you need to understand what doesn’t work and why. You can’t put something in front of a white wall, take the shot, and expect the background to be white. It won’t be. Instead it will be some shade of gray. There are two reasons for this. One has to do with the way a camera exposes things. A camera, left to its own devices is always going to try and expose toward neutral gray. That is why a picture of snow will always look gray unless you compensate for the exposure. The second problem has to do with light fall-off. If you put the proper amount of light on the subject, there won’t be enough light on the background to turn it white. On the other hand, if you use enough light to make the background white, the subject would be way overexposed.
The solution is to use different light for the subject and background. This can be accomplished by several different means and using a variety of equipment. The method explained here will not use any special equipment, but simply a white background of your choice and studio lights. The white background can be a white wall for a large subject or a piece of poster board for small subjects. If you don’t have a white wall, you can get a white sheet and hang it over whatever wall is available.
It is possible to make this work with just two lights – one for the subject and one for the background. If the subject is very large, you will need at least two lights on the background. The main thing, is you have to pour a lot more light on the background than you do on the subject.
If you don’t have a light meter, it will require a bit of trial and error. First, move the subject away from the background a bit. How much? Well, it depends. Again, it may require some trial and error, but there are too problems you are trying to avoid by separating the subject and background. First, you don’t want any shadow from the subject hitting the background. This can also be altered by raising the light on the subject high enough so that the shadow falls away before it can affect the background. Second, you don’t want the light bouncing off the background to be so strong that it “wraps” around the subject causing a halo effect.
For now, ignore the background and light the subject. Whether you are using strobes, constant lighting, or a flash, work with the subject until you are happy with the lighting. Now that the main lighting is set, leave that alone and don’t change it except for minor tweaking.
Next, turn on your background light or lights. You want it to fill the visible area of the background that will show in the image. Take a picture again and look at the image in your LCD panel on the back of the camera. If your camera has something called highlight warnings (commonly called “blinkies”), turn that on. If the background is properly exposed, then the entire background will be blinking and the subject will look well exposed. Once you get to that point, you are done and you have a perfectly lit subject on a white background.
Most likely, it won’t be perfect on the first try. If the background still looks grey, keep turning up the lights a little at a time until you have white. If you reach a point where the lights are all the way up and it’s still not white, you will need to adjust the exposure in camera until the background goes white. Do this by using a larger aperture or increasing the ISO setting. If you need to adjust the exposure to get the background white, then you will need to turn down the light on the subject to keep from over exposing it. Keep tweaking the two lights until you have a perfectly lit subject and a perfectly white background. If you have a slight bit of gray around the edges, don’t worry about it as that is a quick fix in Photoshop using the eraser or dodge tool.
There are other methods of achieving this that use special backlit backgrounds and boxes. They will make it easier, but you will still need plenty of light and trial and error to accomplish the same thing. It is a worthwhile exercise to learn how to do it right “old school” before trying it with gadgets and spending more money.
